

Installation planning
A standard kit. A well-prepared site.
Choose your size first, then prepare the space around the actual layout drawing. Foundations, anchoring, drainage and local requirements need to be resolved before installation.
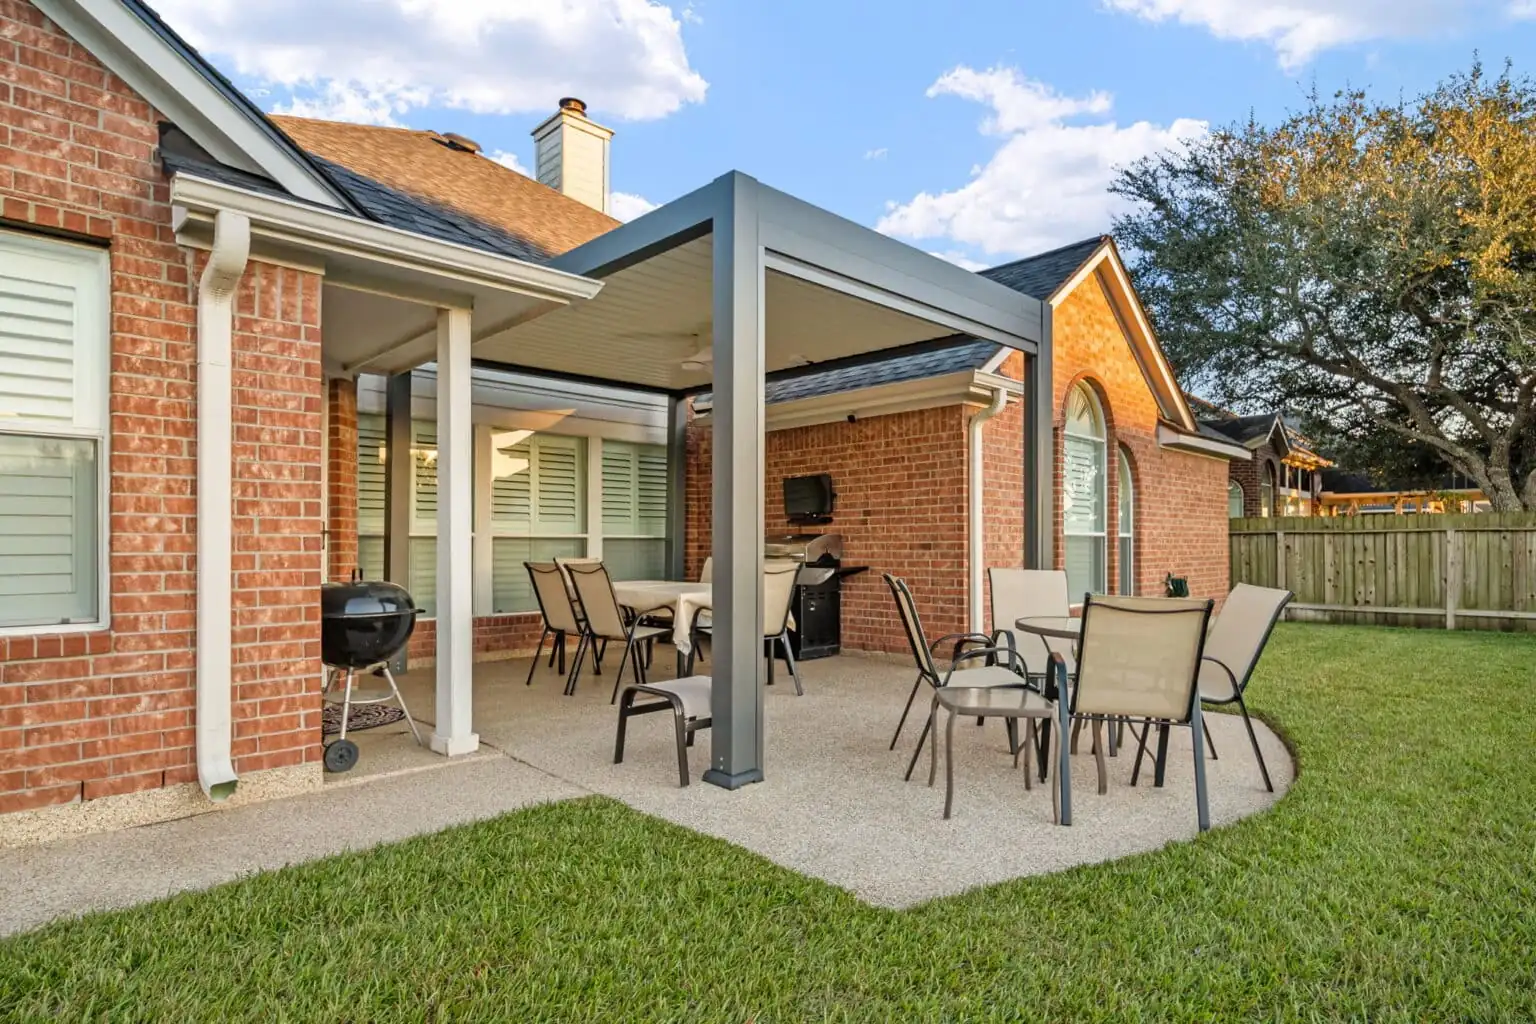
Before ordering
Four checks that make a difference.
Use these points with your installer. Nominal kit dimensions help you shortlist a size; the applicable drawing is the basis for setting out the structure.
- 01
Measure the whole space
Record the available width and length, nearby doors, roof overhangs and walking routes. For double bays, confirm the intermediate posts and connection before placing furniture or planning foundations.
- 02
Confirm the foundation and fixing
Ask your installer to assess the existing surface, supporting structure and proposed anchoring. Request the selected kit drawing and any site-specific engineering or permit requirements before preparing the base.
- 03
Plan sunlight and drainage
Identify shade from trees and buildings around the solar panel location. Review the roof drainage route and discharge points with your installer, keeping water away from entrances and unsuitable surfaces.
- 04
Check access and responsibilities
Share driveway restrictions, unloading space and the route to the installation area. Agree who receives the freight, handles the components and completes the installation; these services are separate from the kit price.
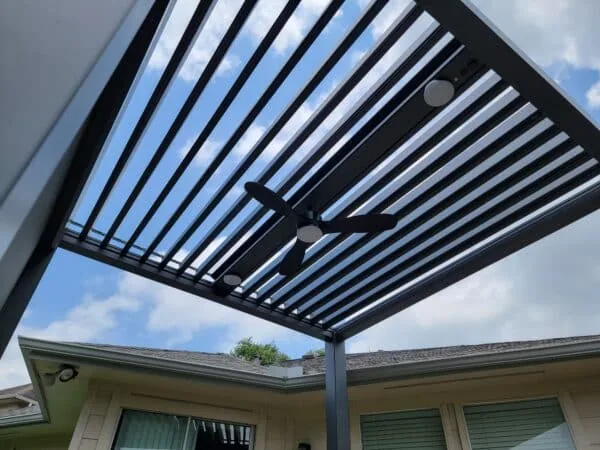
Power planning
Solar roof control, included.
The included solar panel powers the louver motor, operated by the handheld remote. Lighting, heaters and other electrical equipment are separate considerations. Confirm their compatibility and power supply before adding them to your installation.
Delivery to handover
Keep the details together.
Retain the packing information, drawings and order details so installation and any later support use the same product reference.
- 01
Inspect on arrival
Check the packaging, labels and supplied components against your packing list. Photograph visible damage and contact support promptly; keep the packaging while the issue is reviewed.
- 02
Install to the applicable instructions
Follow the supplied assembly instructions and the agreed foundation and fixing details. If components or instructions do not match the order, resolve that before continuing.
- 03
Check operation with your installer
Review remote operation, louver movement and the drainage arrangement. Ask for the care and operating guidance for your kit and keep your order reference for future support.
Next step
Bring your installer into the conversation.
Send your preferred size, ZIP code, site photographs and the questions your installer needs answered.